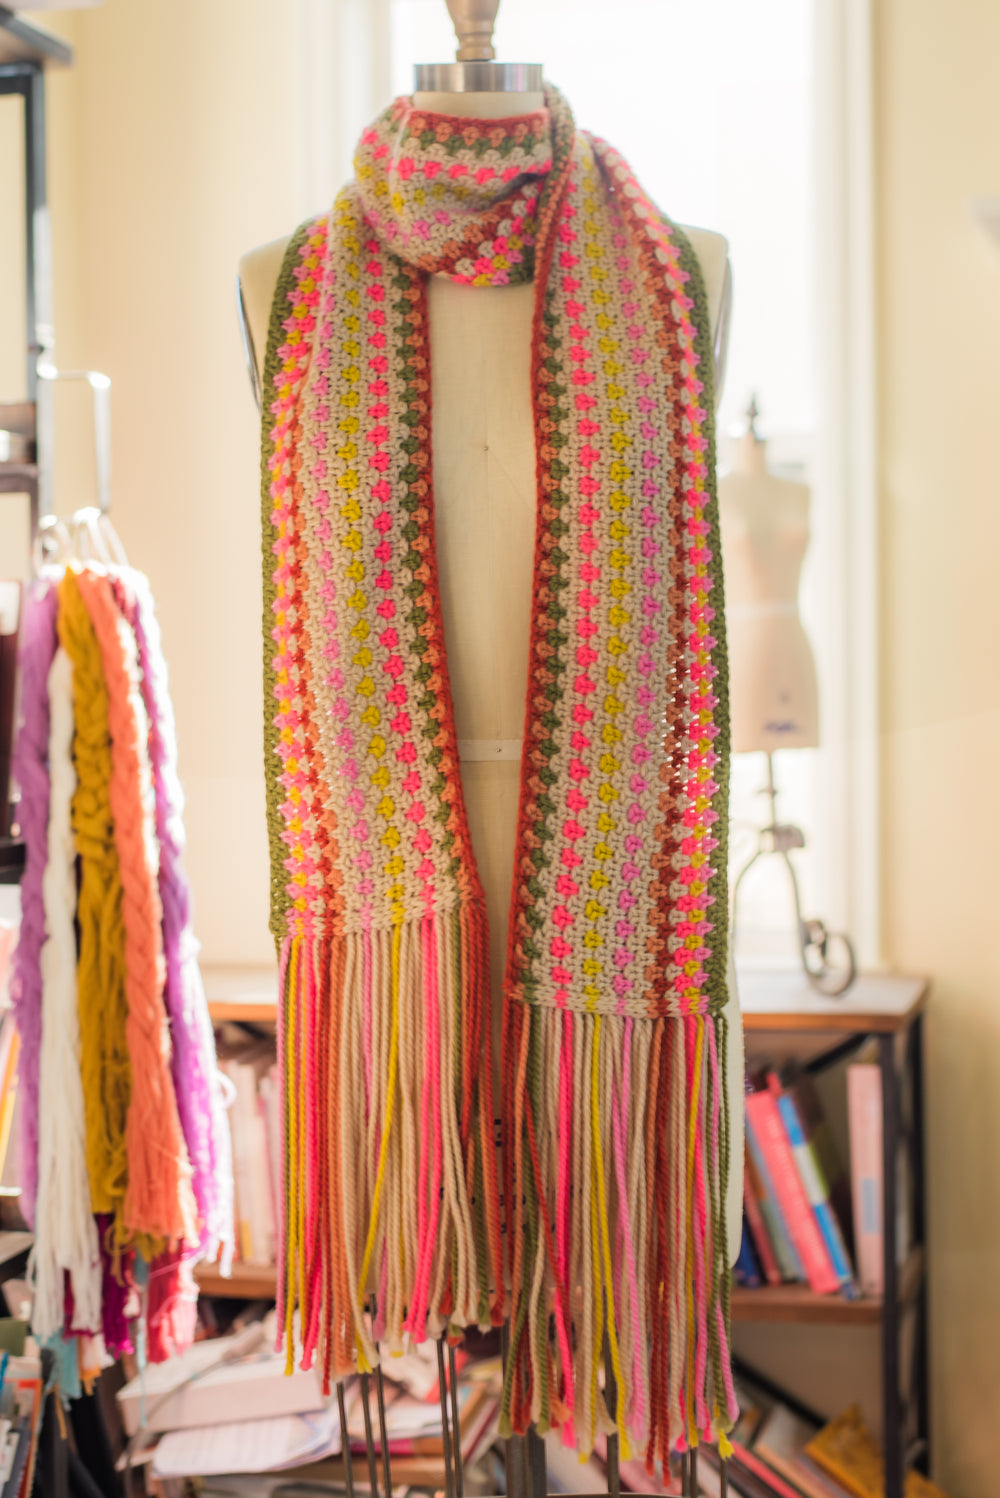
Blanketto Scarf

At VKL NYC we had so many requests...kit now available here!
You may already know this, but Purl Soho offers an incredible array of free knitting patterns. I'm impressed by the innovative designs featuring cool stitch patterns and minimalist designs. The Incredible Blanket design caught my eye, particularly the stitch pattern that resembles crochet but with a lighter, more flexible fabric. Instead of a full blanket, I toyed with the idea of crafting a scarf by trimming down the number of rows.
The scarf is worked horizontally, that is, you cast on a lot of stitches along the long edge and work not that many rows. You leave a strand of yarn at the beginning at ending of every row which turn into the fringe on the ends. There are i-cord selvedges that need to be tied off to secure after you complete the scarf.
This pattern is perfectly adaptable for any length or width. The stitch pattern is in increments of 2 stitches, so add stitches for a longer scarf and subtract stitches for a shorter one. For a thinner scarf, just work fewer rows.

This is also a great pattern for using extra yarn. I used about 12 g of yarn per color repeat (2 rows). To map out my color placement, I built an Excel spreadsheet and used the “fill color” button to see what the colors looked like.

FINISHED MEASUREMENT
67” long, 6 ½” wide
YARN
Ikigai Fiber Chibi Paka Chunky (75% fine washable merino wool, 25% baby alpaca; 55 yds / 50.5 m per 50 g skein):
1 skein each Onyx, Matcha Latte, Razzle, Bumblebee; 2 skeins Oatmeal
NEEDLES
US 10 / 6 mm 40” or longer circular needle (worked flat, but need to accommodate a lot of stitches)
Adjust needle size if necessary to obtain correct gauge
GAUGE
11 ½ sts and 29 ½ rows = 4'' (10 cm) in slip stitch pattern, blocked
INSTRUCTIONS
CO 200 sts, leaving a 12” tail
Work blanket pattern rows exactly as written with the following exception:
At the beginning and end of each row, leave a 12” tail. That means you will be cutting the yarn at the end of each row and starting with a new strand at the beginning of each row.
Finishing Ends
Since the ends are not secured, the end stitches will be a bit loose. You will need to tie the strands in a knot in order to secure them so they won’t become undone. Go through and tug the strands to get the stitches tightened up and uniform. For each color repeat, you will have 2 loose strands, one RS and one WS row, that are the same color.

For the end that ends on the RS row with a k1, sl1, k1, and ends on a WS row with a sl1, k1, sl1, tie the 2 strands from each color repeat in a double over-hand knot.
For the other end that begins on the RS row with a k3, the WS strands will be in a different location than on the previous end. Take the 2 same color strands and thread them onto a tapestry needle. The i-cord selvedge will have 3 columns of stitches. Thread the tapestry needle under the “v” of the first stitch so that the 2 strands come out between the first and second stitches. Pulling the threads tight as you work, tie knots with the 2 strands as you did with the previous end.
Here is a video tutorial on how to process the fringed ends.
Here is a PDF for the pattern.
Block to shape.

0 comments
Post a comment